I recently created a plan and started updating tasks under the plan. Now I wanted to comment certain updates on the tasks and noticed there was no comments section in the task.
This got me thinking, something that I was able to do earlier seems to be missing now.
When we create a Plan using Microsoft Planner, i.e., navigating to https://planner.cloud.microsoft/, and create a new task under the plan, the comments section isn't visible.
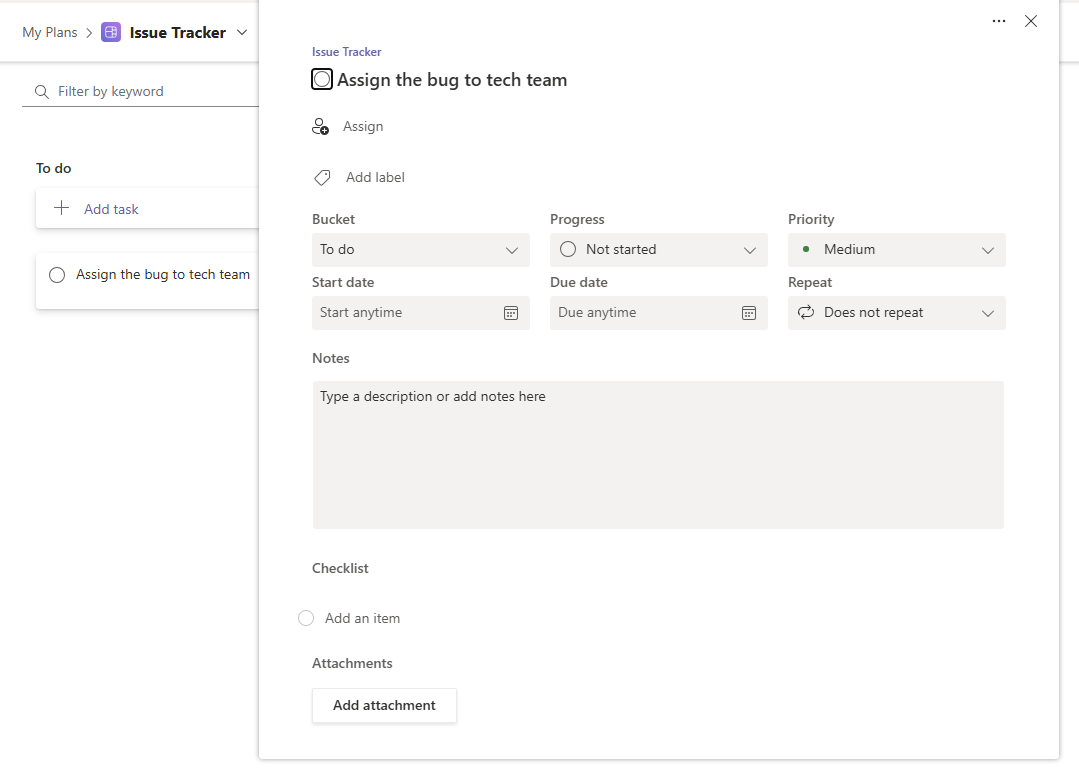
However, when you create a Team / Channel in MS Teams and create a plan under the Team, now you can add comments to the task.

Just a little something that you might want to keep in mind if you want to keep ongoing conversations around a task between team members.